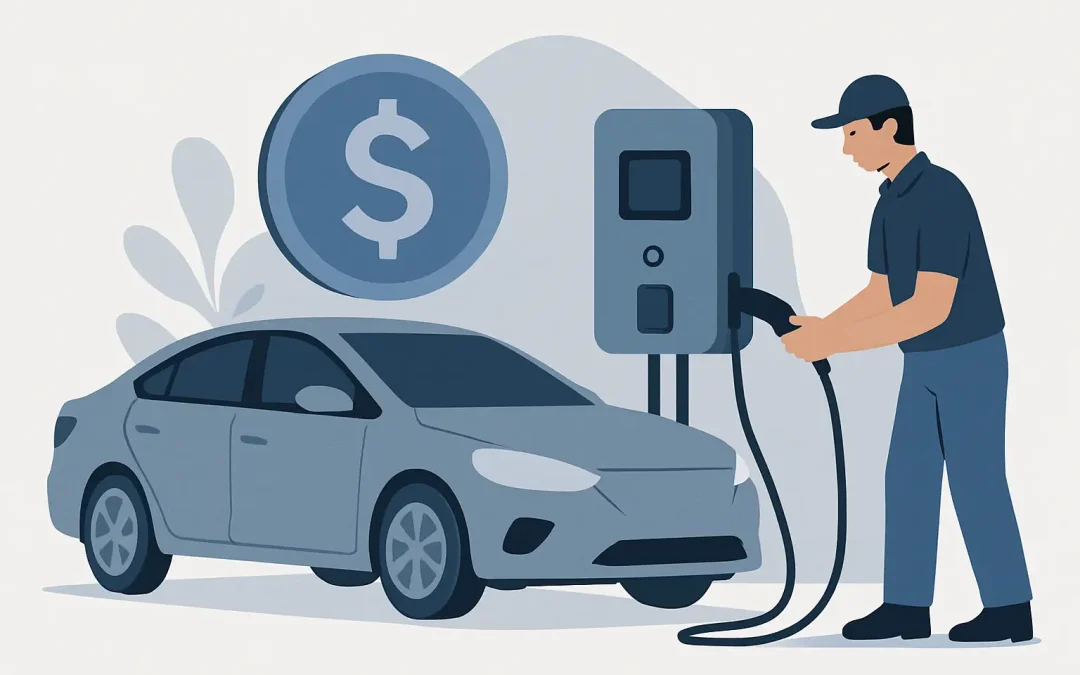
You bought (or reserved) an EV because you want fewer stops at gas stations, not more time hunting for public chargers. A Level 2 charger at home or at your business solves that problem fast – but the first question most people in Rancho Cucamonga and the Inland Empire ask is the same: what’s the real number for installation?
The honest answer is that level 2 ev charger installation cost depends less on the charger and more on your electrical infrastructure, the distance to the parking spot, and whether the job needs upgrades to keep everything safe and code-compliant. Below is what actually moves the price, what a “normal” install looks like, and how to avoid the budget surprises that usually come from older panels and long wire runs.
Typical level 2 ev charger installation cost ranges
For many homes with adequate electrical capacity and a straightforward path from the main panel to the garage, installation often lands in the general range of about $800 to $2,500 for labor, wiring, breakers, and standard materials. That’s the scenario where the panel has room, the load calculation checks out, the charger location is close, and the wiring route is clean.
Costs climb when the electrical system needs structural changes. If you need a panel upgrade or service upgrade to support the additional continuous load, it’s common for the total project to move into the $2,500 to $7,500+ range depending on panel size, service equipment, and site conditions.
For commercial sites, the range can be wider. A simple single-port install near an existing electrical room may be comparable to residential pricing, but longer conduit runs, trenching, multi-port systems, demand management, or dedicated meter work can put projects into the several-thousand to tens-of-thousands range.
Those numbers are intentionally broad because a “Level 2 install” isn’t one job. It’s a family of jobs with very different electrical demands.
The biggest cost driver: electrical capacity and load calculations
A Level 2 EV charger is a continuous load, which means it runs for hours at a time and must be sized correctly for safety. The price changes dramatically based on whether your existing panel can safely support it.
Many newer homes in the Inland Empire have 200-amp service and enough available capacity to add a 40- or 50-amp circuit for EV charging. In that case, the job is mainly about running the circuit, installing the breaker, and mounting and commissioning the charger.
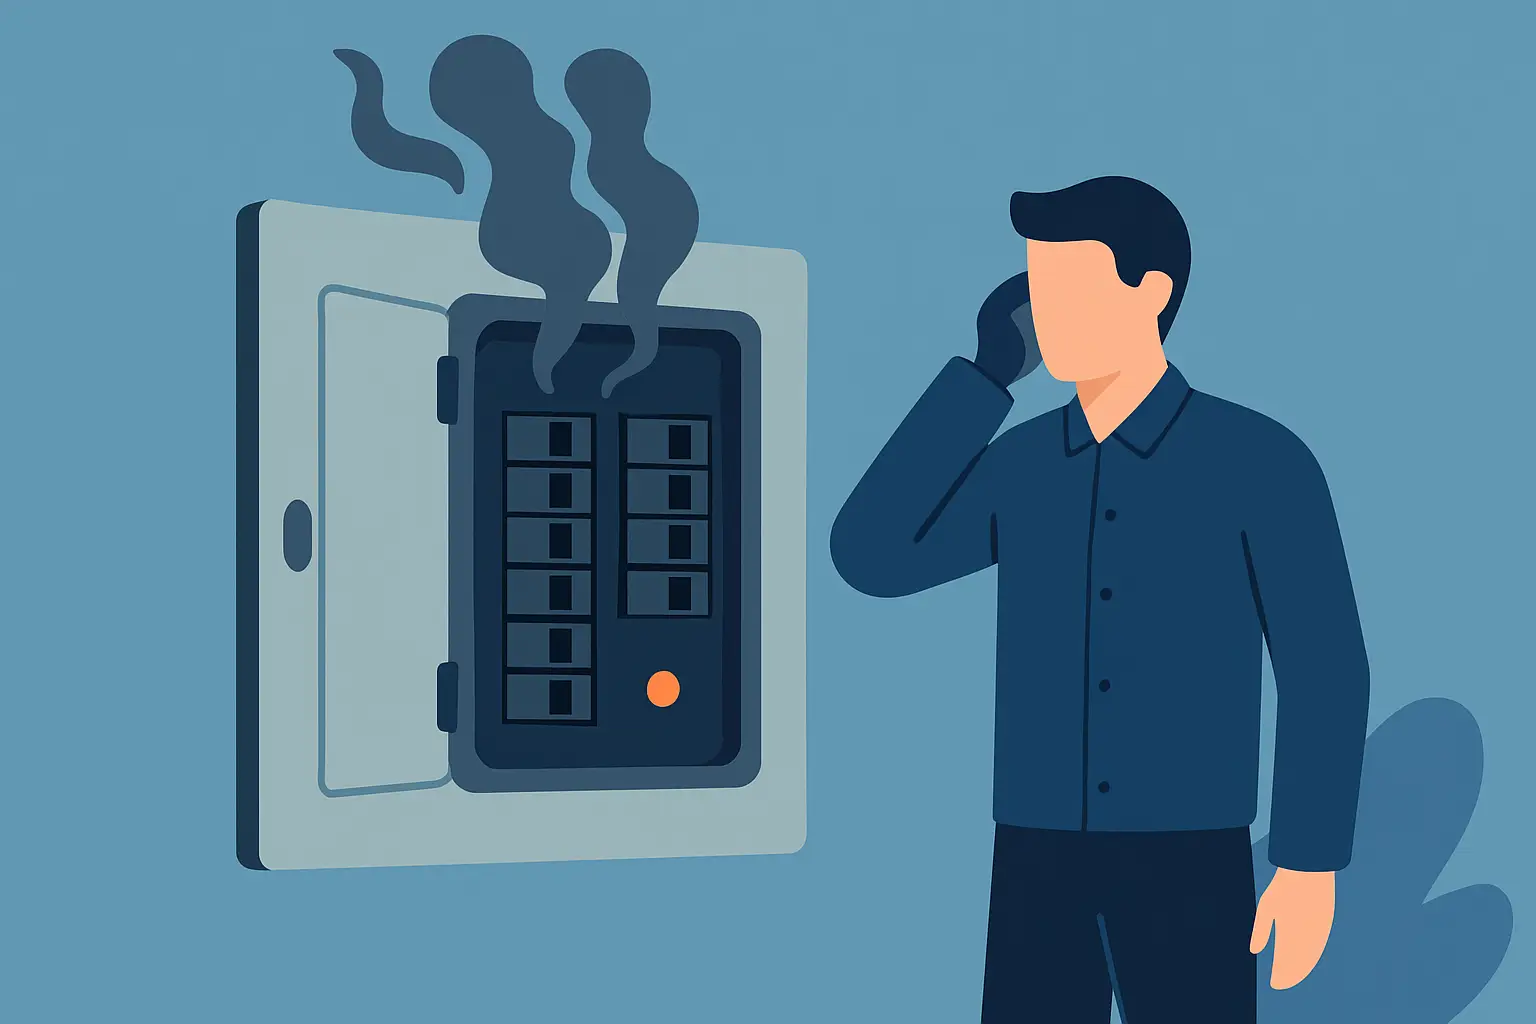
Older homes – or homes that have added a pool, spa, workshop equipment, or a second HVAC system – can be tight on capacity even if the panel “looks” large enough. A proper load calculation is what prevents nuisance breaker trips, overheated conductors, and the unsafe habit of “making it work” by oversizing breakers.
If the load calculation shows you’re at the limit, your options usually include lowering the charger’s amperage setting, adding load management equipment, or upgrading the panel and/or service. Each path has a different price point and a different long-term benefit.
Panel upgrades, subpanels, and why they change the budget
When a panel upgrade enters the conversation, the project shifts from “add a circuit” to “modernize the heart of the electrical system.” That’s why it affects level 2 ev charger installation cost so heavily.
A panel upgrade may be needed when the panel is full, the bus rating is insufficient, the main breaker size is too small for the new load, or the equipment is outdated or unsafe. Sometimes the panel is physically in good shape but simply has no open breaker spaces, which can lead to adding a subpanel instead. A subpanel can be a cost-effective alternative when the service has capacity but you need more circuit space closer to the garage.
For many property owners, this is also a good time to fix other pain points – flickering lights, warm breaker covers, or circuits that trip when you run the microwave and air fryer at the same time. Those symptoms don’t always mean the panel is failing, but they are a sign you should take the EV charging addition seriously and treat it like an upgrade to the whole home’s electrical reliability.
Distance and route: where the wiring has to go
After capacity, the next major cost lever is the distance from the panel to the charger and how difficult the route is.
If the panel is on the garage wall and the charger is mounted a few feet away, the install can be clean and efficient. If the panel is on the opposite side of the house, or the charger is in a detached garage, the job may require a long conduit run, attic routing, drywall access, or exterior conduit along stucco.
Every extra foot adds wire and conduit cost, but more importantly, it adds labor time. Complex routing also increases the need for patching or paint coordination if walls must be opened (some routes can be done fully surface-mounted, depending on the space and aesthetics you want).
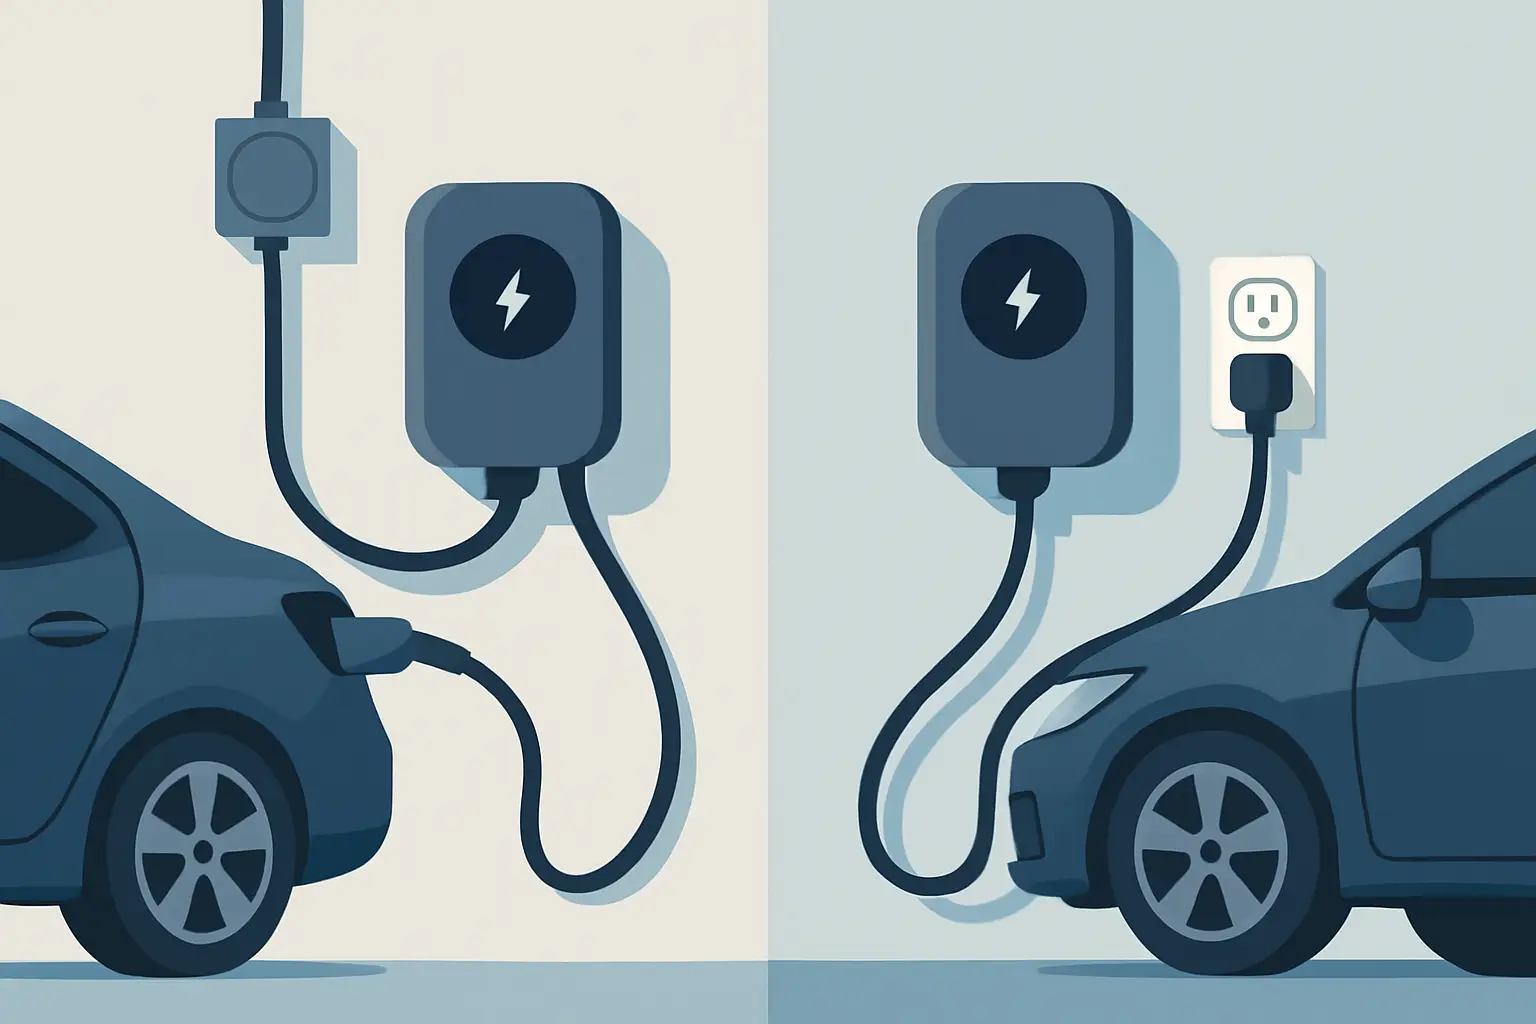
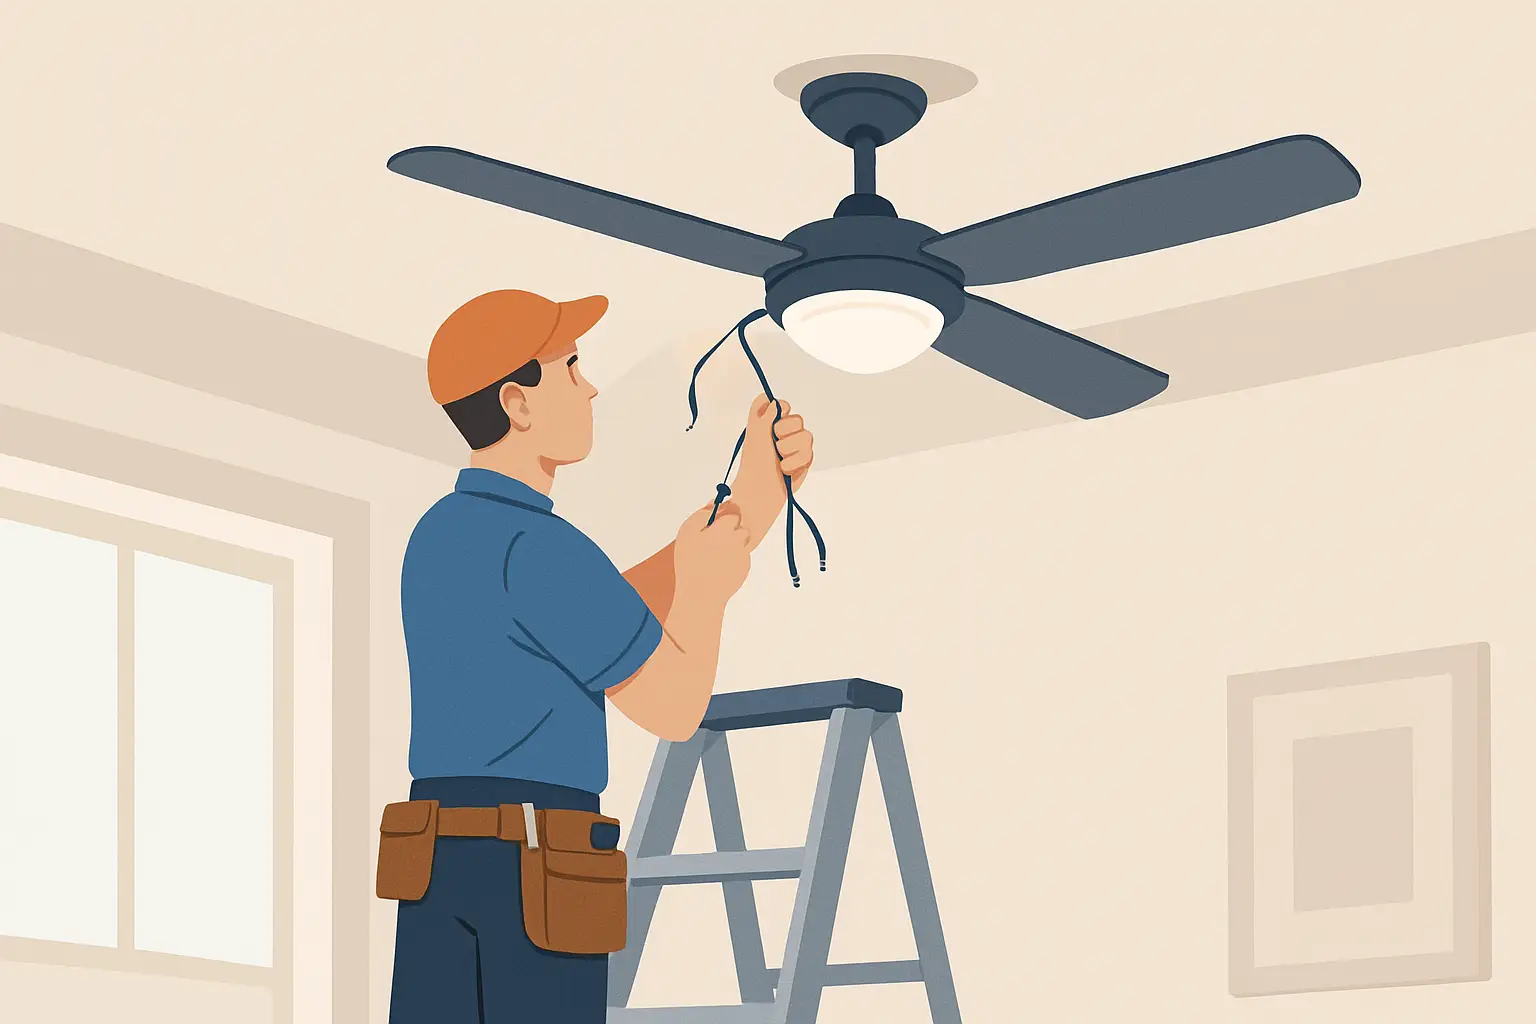
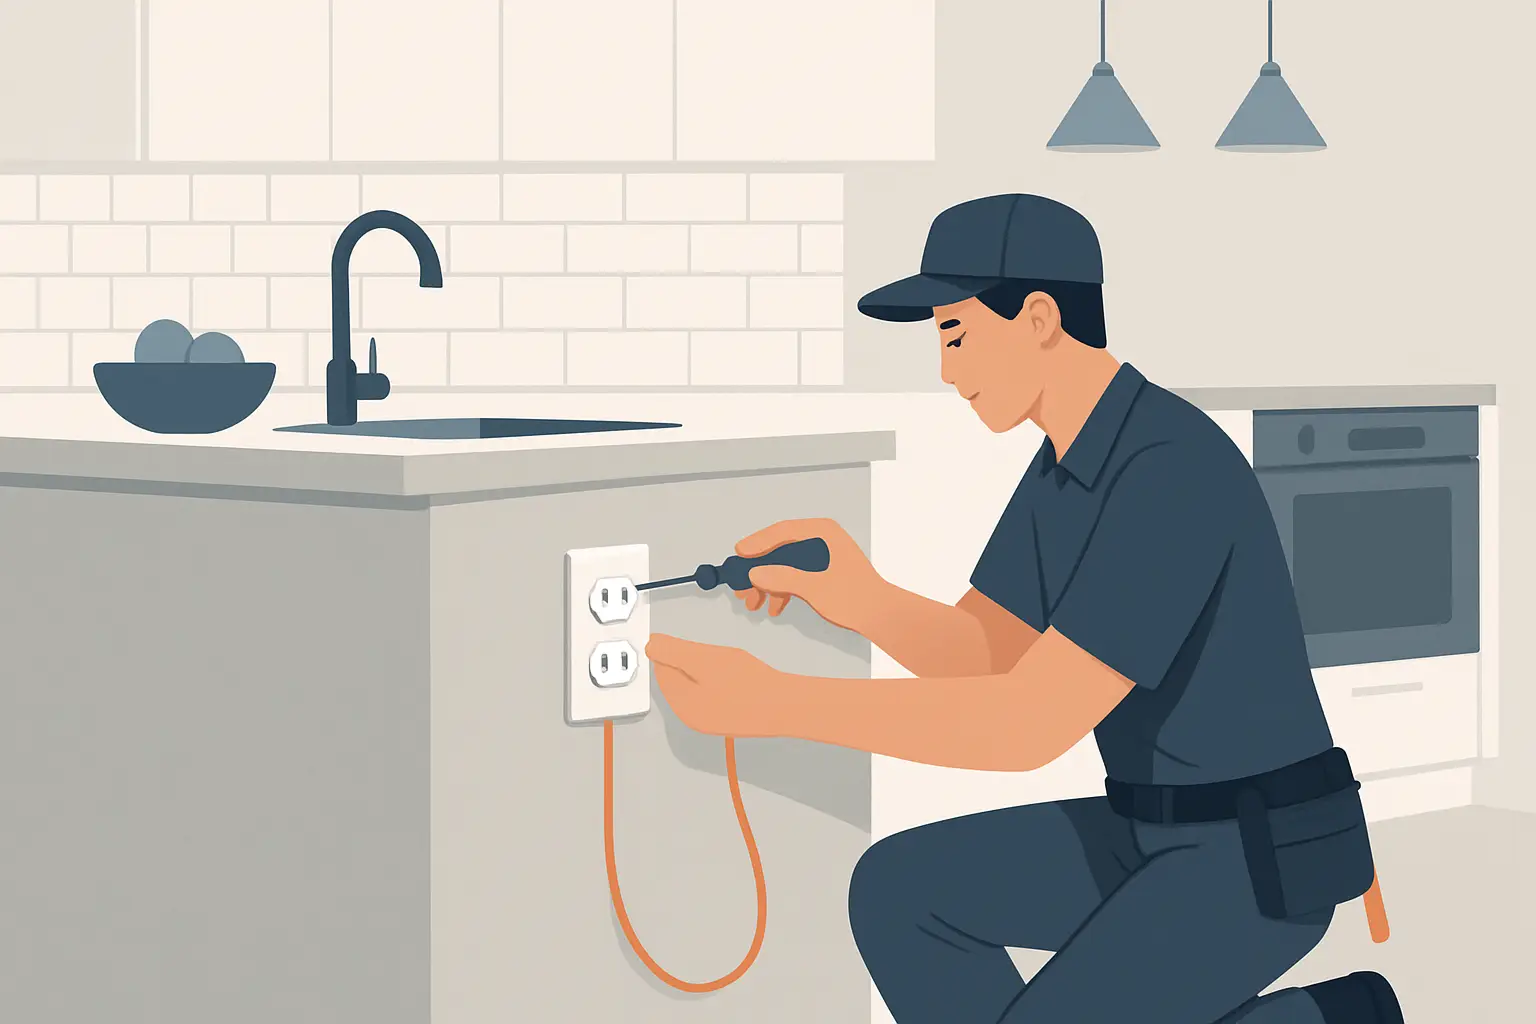
Charger type and amperage: what you choose affects install requirements
Not all Level 2 chargers are the same. Some are plug-in units that use a NEMA 14-50 or 6-50 receptacle, while others are hardwired. Many can be set to different amperage levels (for example, 32A, 40A, 48A) which affects circuit size.
Hardwired installs are common for higher amperage charging and can reduce points of failure compared to a plug and receptacle. Plug-in installs can be convenient if you expect to move the charger later, but they still require a properly sized circuit and a receptacle rated for the duty cycle.
Here’s where homeowners get caught off guard: a charger advertised as “48 amp” typically requires a 60-amp circuit because of continuous load rules. That can push you into larger wire and conduit, and in some homes it’s the difference between “panel can handle it” and “we need a capacity solution.”
A good electrician will talk through your actual driving habits. If your daily mileage is modest, a lower charging rate can still fully recharge overnight and may keep the project simpler and less expensive.
Permits and inspections: the part you want, even if you don’t love it
Permits and inspections add cost, but they also add protection. They confirm the work meets code, the circuit is correctly sized, the grounding and bonding are correct, and the equipment is installed per manufacturer requirements.
In many local jurisdictions, an EV charger installation is a permitted electrical project. Skipping that step can create issues when you sell the home, file an insurance claim, or troubleshoot a problem later. If you’re comparing quotes, make sure you’re comparing apples to apples – some “low bids” get low by leaving out the permit, the inspection coordination, or the properly rated materials.
Commercial installs: uptime, access, and future-proofing
For businesses, the direct installation cost is only part of the decision. The real cost is disruption and limitations.
A commercial Level 2 project might require after-hours work to avoid downtime, coordinating with property management, or ensuring ADA-accessible placement. You may also want to plan for expansion – adding conduit pathways now can be cheaper than reopening walls or trenching later.
If you expect multiple EVs to charge, load management becomes a practical tool. It can allow more charging ports without immediately upgrading electrical service, which can control cost while still meeting driver demand.
Ways to control cost without cutting corners
The goal isn’t to chase the cheapest number. It’s to get a safe installation that charges reliably for years.
The simplest way to manage cost is to choose the charger location strategically. Placing the unit closer to the panel or electrical room often saves more than any other single decision. If you have flexibility in parking position, a small adjustment can shorten the run and reduce labor.
Next, pick an amperage that fits your real needs and your electrical system. Many drivers don’t need the maximum charging rate to get the convenience they’re after. Setting a charger to 32A instead of 48A can be the difference between a straightforward circuit add and a major capacity project.
Finally, treat your quote as a scope conversation, not just a price. Ask what’s included: load calculation, permit, breaker type, wire sizing, mounting, labeling, commissioning, and cleanup. A clean, well-explained scope prevents change orders and helps you schedule confidently.
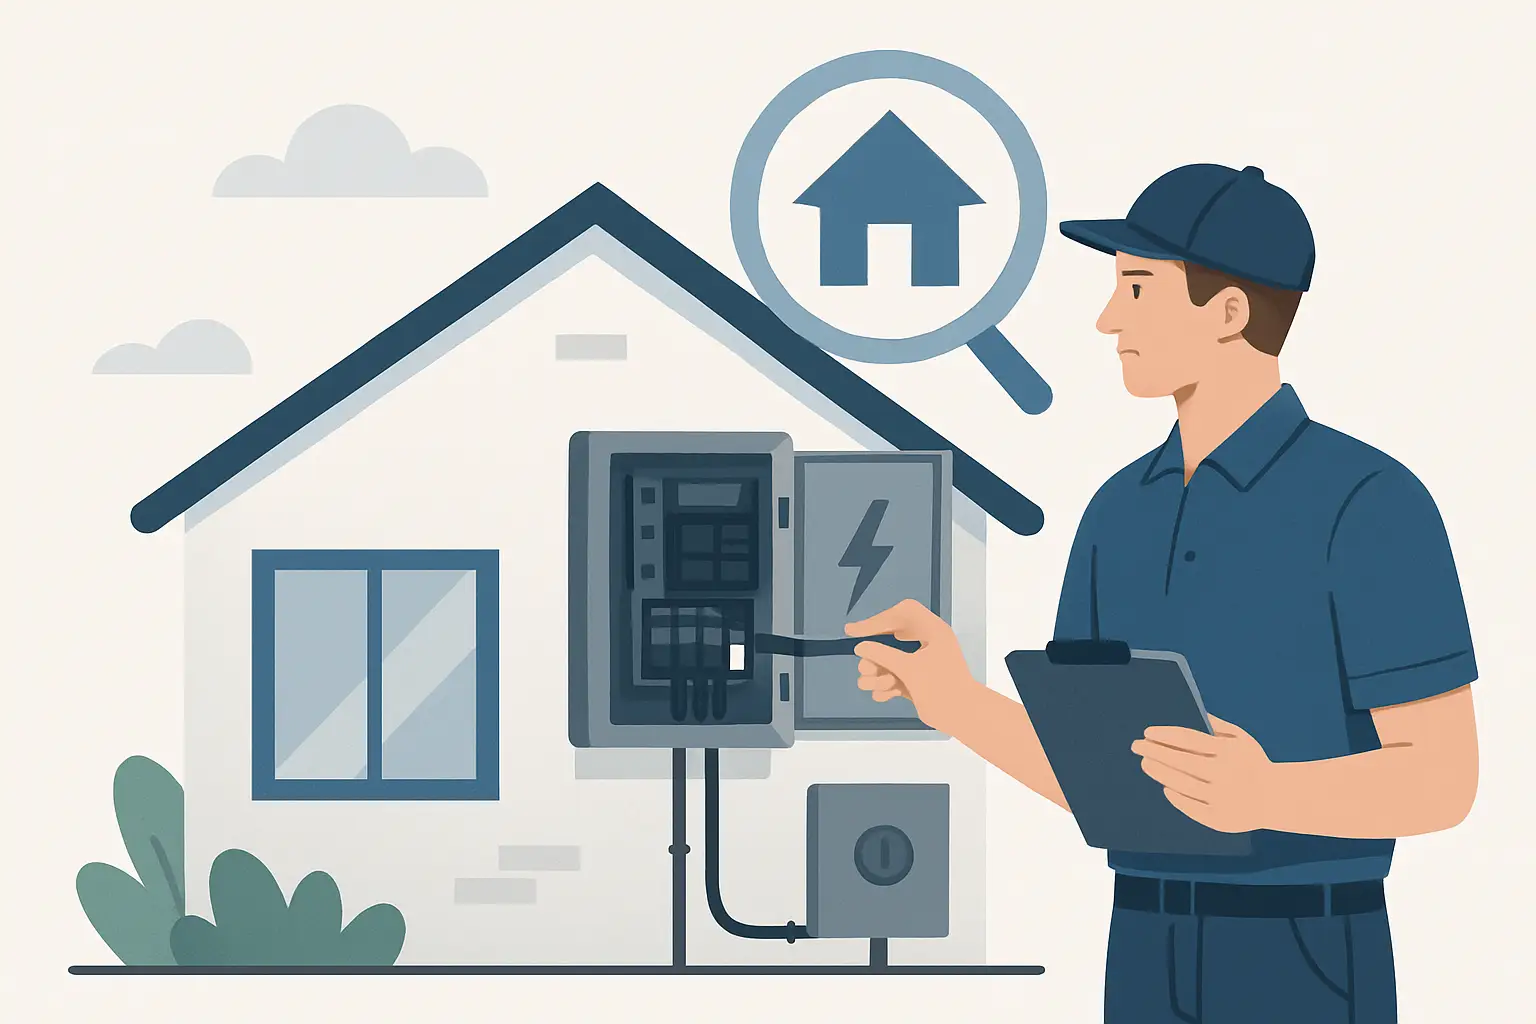
What to expect during a professional installation
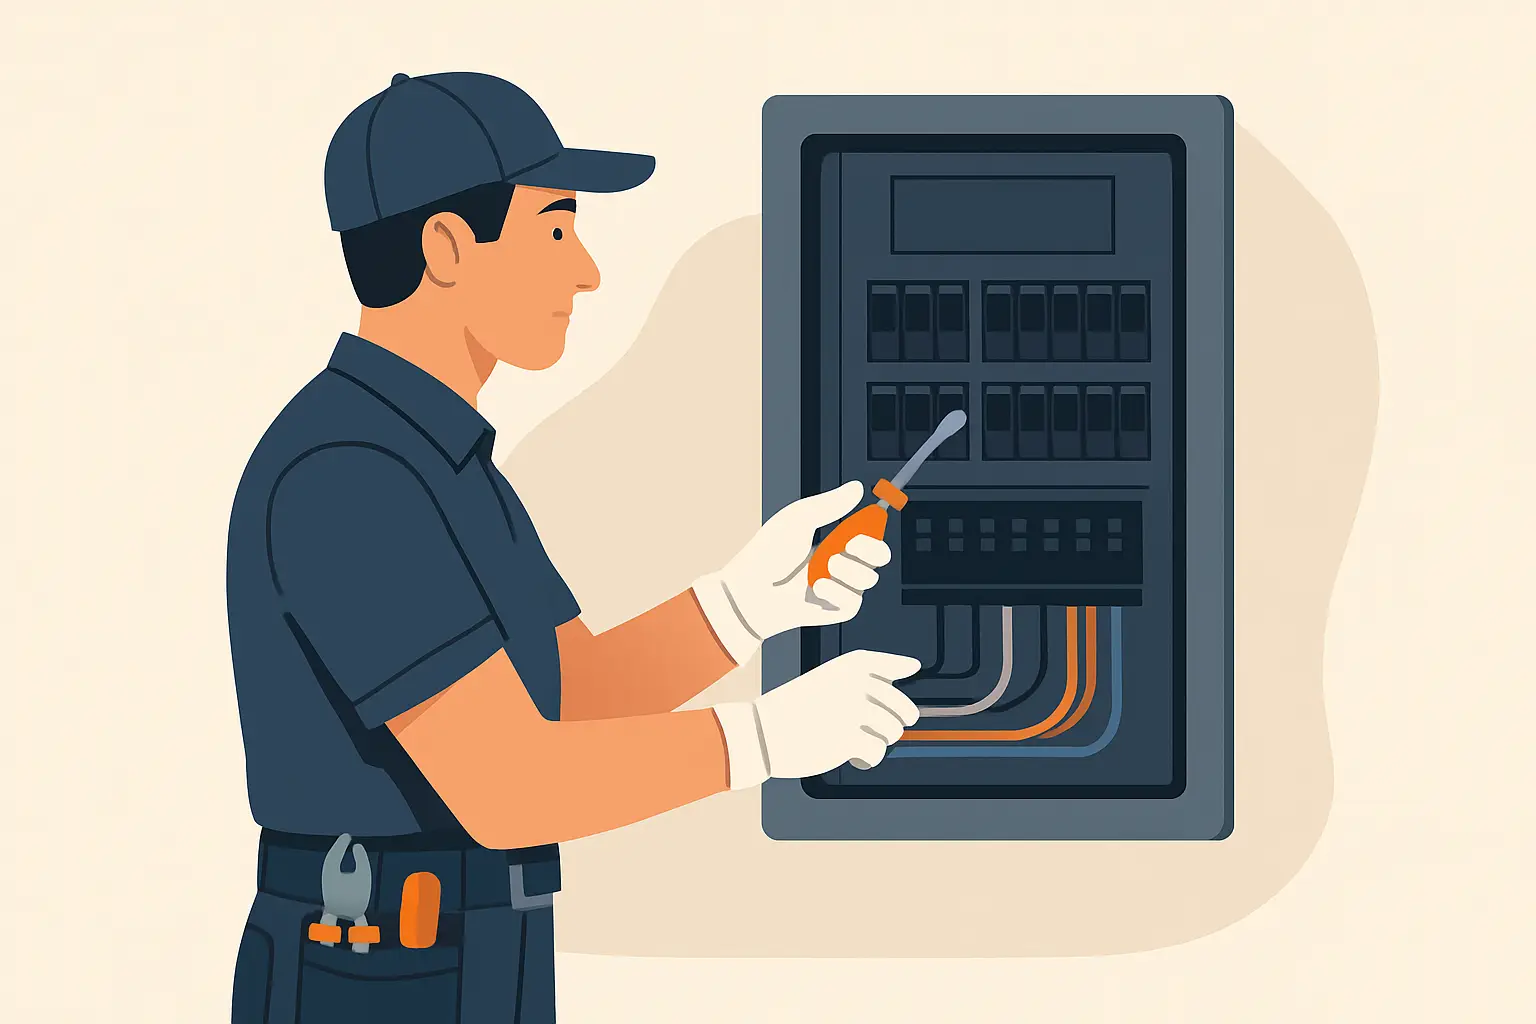
A proper install typically starts with a site walk and an electrical evaluation. That includes checking the service size, panel condition, available breaker space, and the best path to the charger location.
On install day, the electrician mounts the charger, runs conduit and conductors, installs the correctly sized breaker, makes terminations to manufacturer specs, and verifies settings (including the charger’s maximum current if it’s configurable). Testing is not just “does it turn on.” It’s confirming safe operation and a reliable connection, then leaving the site clean.
If you’re in Rancho Cucamonga or elsewhere in the Inland Empire and want a quote that’s based on your actual panel and parking layout, Potter Electric Company Inc. can walk you through options and schedule quickly – you can get started at https://Potterelectricinc.com.
A final thought before you book
If a Level 2 charger is going to become part of your everyday routine, it deserves the same mindset you’d bring to any other core electrical upgrade: sized correctly, installed neatly, and built to last. The best installations don’t just charge faster – they make the whole property feel more dependable every time you plug in.