The day you bring home a new air fryer, stand mixer, or espresso machine is usually the day you realize your kitchen island is doing too much with too little power. Extension cords start sneaking across the countertop, devices get plugged in wherever there is space, and suddenly the island – the most used surface in the room – is the least convenient place to work.
If you want to add outlet to kitchen island, the goal is not just “more plugs.” The goal is safe, code-compliant power that matches how you actually cook, charge, and gather – without tripping breakers, creating cord hazards, or cutting corners inside a cabinet full of cleaning supplies.
What “add outlet to kitchen island” really involves
Adding an island receptacle is part design decision and part electrical planning. The electrical side depends on how your island was built, what is under it (slab, crawlspace, finished floor), and whether your existing kitchen circuits have capacity.
In many homes, the island ends up sharing with countertop circuits, dishwasher/disposal circuits, or even lighting – especially if the kitchen has been remodeled more than once. That might work until it doesn’t. High-wattage appliances stacked on the same circuit can cause nuisance trips. Worse, overloaded or poorly terminated wiring can create heat where you do not want it.
A proper installation typically includes a code-approved outlet location, GFCI protection, correct wiring method inside the island, and the right circuit strategy – either tying into an existing small-appliance branch circuit (when permitted and sized correctly) or running a dedicated new circuit from the panel.
Code basics that shape island outlet placement
Electrical code changes over time, and enforcement can vary by city. But the themes stay consistent: kitchens need accessible receptacles, islands need practical access, and wet areas need shock protection.
Most island outlets must be GFCI-protected. That can be done with a GFCI receptacle or a GFCI breaker, depending on the circuit and the panel.
Where the outlet can go is not always as flexible as people expect. Homeowners often ask for outlets on the top surface or hidden under the countertop lip. Those options can create safety and inspection issues, and they may not be allowed depending on your countertop overhang and local interpretation. The safer, more commonly accepted approach is to place the receptacle in the side of the island cabinet, set back enough to reduce impact, and positioned to keep cords from draping across walkways.
If your island has a sink or is close to water sources, the GFCI requirement is non-negotiable. Even if it feels “dry,” islands are where spills happen.
The first decision: tap an existing circuit or run a new one?
This is where “it depends” matters.
If your kitchen already has properly installed small-appliance circuits with room for additional load, it may be possible to extend one to the island outlet. But kitchens are often at the edge of capacity already. A coffee maker plus a toaster plus a griddle can trip a 20-amp circuit quickly. Add phone chargers and under-cabinet lighting and the circuit becomes a constant juggling act.
Running a new dedicated 20-amp circuit to the island outlet costs more upfront, but it gives you dependable power where you use it most. It also reduces the odds of a breaker trip when you have guests and multiple appliances running.
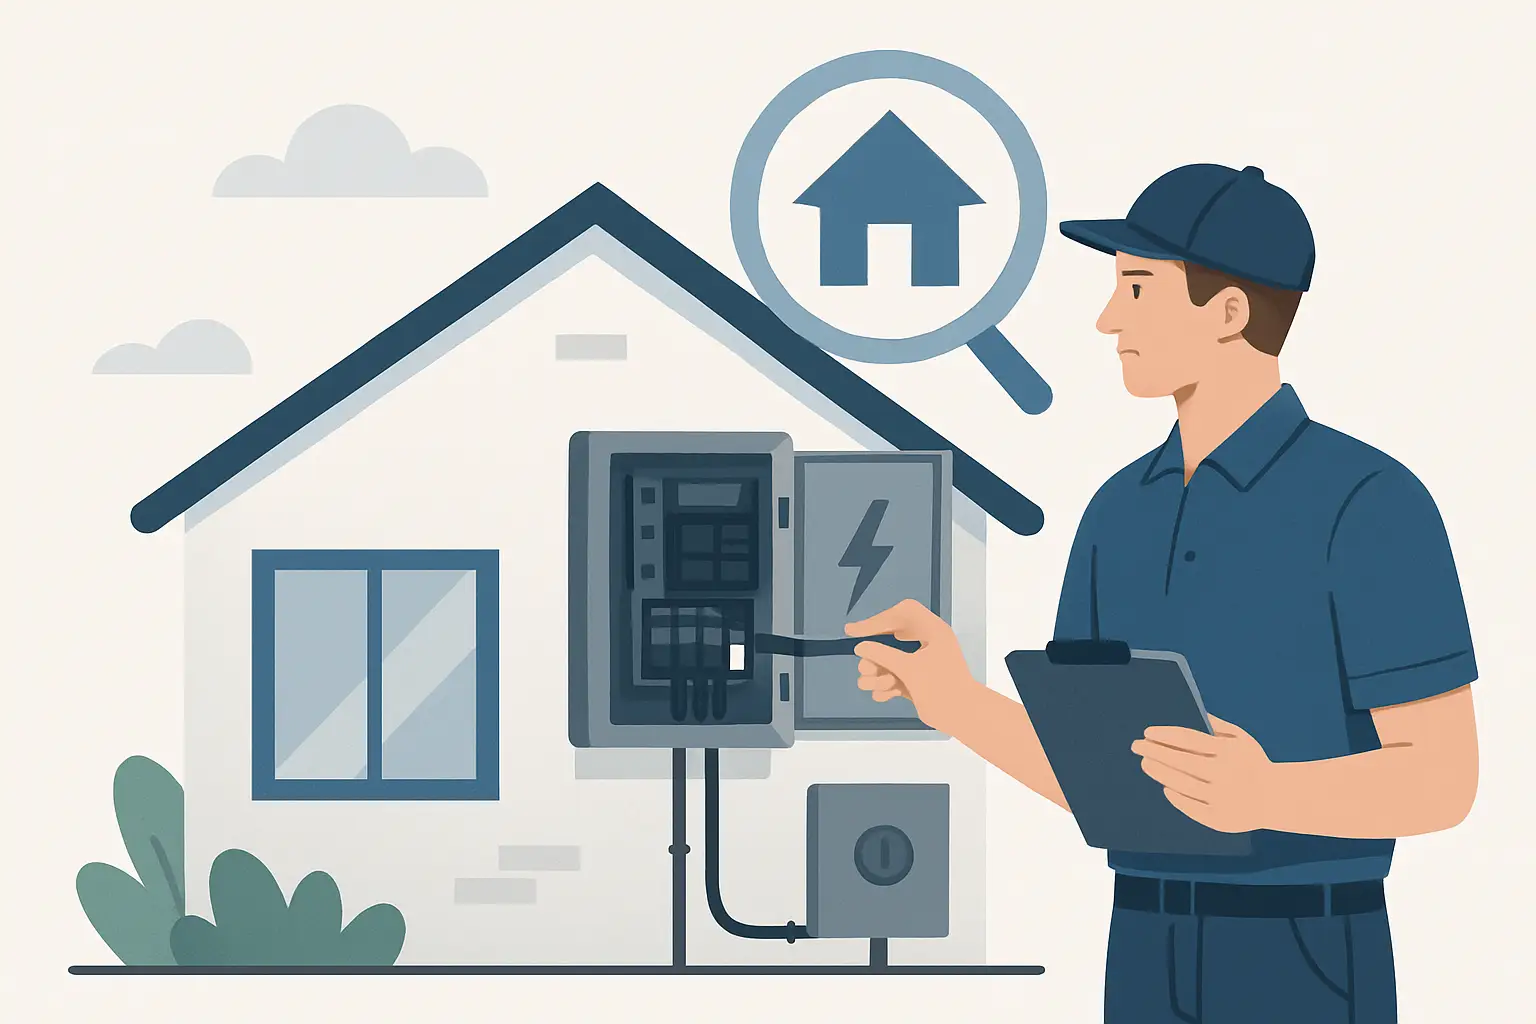
A licensed electrician can verify what your island can realistically support by checking the panel labeling (and confirming it is accurate), testing loads, and inspecting how the existing kitchen circuits are wired. In older Inland Empire homes, we often find mixed circuits, shared neutrals, or prior DIY work that needs correction before anything new should be added.
How electricians get power to the island
The physical path is usually the hardest part.
If the home has a crawlspace, routing a new cable or conduit to the island is often straightforward. If you are on a slab foundation – common across Rancho Cucamonga and much of the Inland Empire – the plan may involve one of a few approaches: using an existing floor pathway (rare but ideal), routing through cabinetry and walls to reach the island base, or, in some remodels, opening the floor and patching after conduit is installed.
The right method depends on your floor type, how the island is anchored, and whether you can access the island base without damaging finished surfaces. A clean job matters here because the kitchen is the center of the home. A professional will explain what needs to be opened, how it will be protected, and what the finished result will look like before the first cut is made.
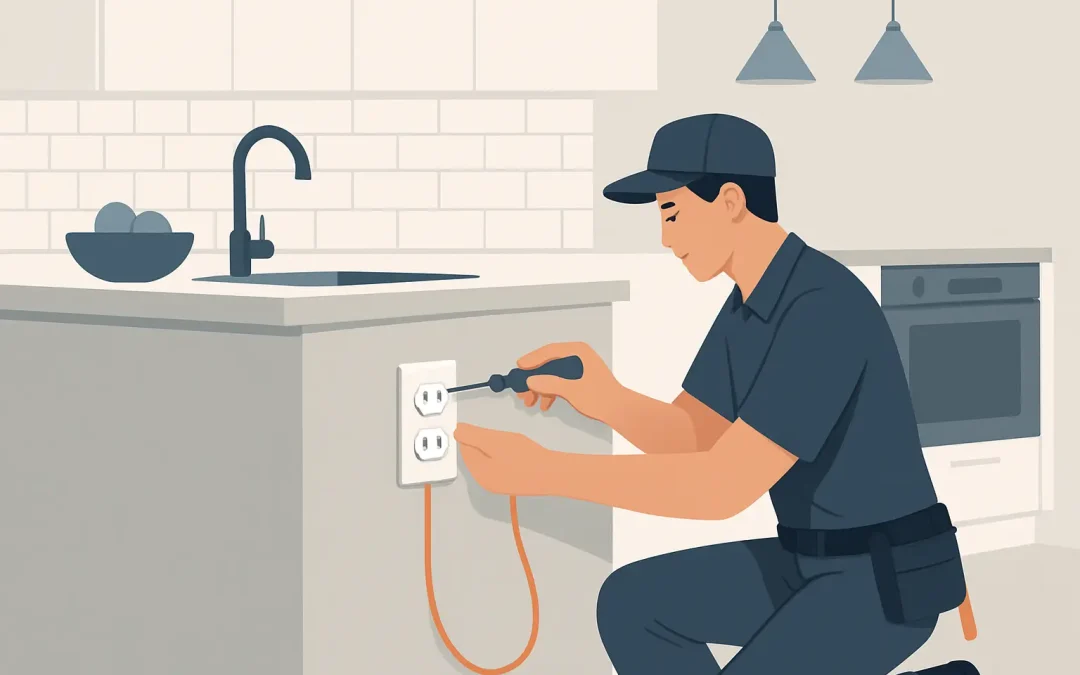
Outlet type and features that make island power more usable
The basic choice is a standard 20-amp receptacle with tamper-resistant (TR) protection, which is typical for residential work. From there, you can tailor it to how your family uses the island.
USB-integrated receptacles are popular for charging phones and tablets, but not all USB outlets are created equal. Cheap units can charge slowly or fail early. If you choose USB, use a quality device and make sure it is installed in a way that does not crowd wiring in the box.
You can also choose a configuration that fits large plugs. Some appliance cords use bulky transformer blocks that hog space. A receptacle layout that gives you room can prevent the daily annoyance of “I can’t plug this in because the other plug is too big.”
If your island is used by kids for homework or by adults for remote work, consider where cords will sit. An outlet placed too low inside a cabinet can lead to cords running through doors or past stored items. Placement should support real habits, not just pass inspection.
Safety details most homeowners never see – but matter
A kitchen island outlet looks simple from the outside. Behind the faceplate, the details are where safety lives.
Box fill matters. The electrical box must be large enough for the number of conductors, devices, and clamps inside. Overcrowding creates heat and strain.
Wire protection matters. Cables need to be routed and secured to avoid sharp edges, screw points, or cabinet hardware that can damage insulation over time.
Grounding and terminations matter. Loose connections are a top cause of failures and overheating. Correct torque and proper device choice reduce risk.
GFCI protection must be correct and testable. If you install a GFCI receptacle, it needs to be accessible. If the GFCI is upstream or at the breaker, you still need to confirm it trips properly at the island.
And if your panel is already full or outdated, adding a circuit can trigger a bigger conversation. Sometimes the “simple outlet” is the moment you discover your electrical system needs a panel upgrade to safely support modern kitchen loads.
When adding an island outlet turns into a bigger project
There are a few scenarios where the right answer is to pause and plan rather than rush.
If breakers trip when you use the microwave or toaster oven, you likely do not have spare circuit capacity. Adding another receptacle without addressing the load can make the problem worse.
If you have aluminum wiring, old two-wire circuits without grounding, or a panel that shows signs of overheating, that needs to be addressed before extending circuits.
If the island is part of a remodel, it is smart to plan outlet placement before countertops go in. Retrofitting after stone is installed can limit options and increase labor.
A good electrician will tell you when an “easy add” would be unsafe or unreliable. That honesty saves money long-term because it prevents repeat visits, damaged appliances, and stressful troubleshooting.
What the process looks like with a licensed electrician
A professional job typically starts with a quick conversation about how you use the island and what devices you want to plug in. Then comes a site check to confirm access, circuit options, and any constraints.
After that, you should receive a clear scope: where the outlet will be located, what protection it will have, whether a new circuit is needed, and what openings (if any) are required to route power.
On install day, the focus should be keeping your home clean and disruptions minimal. That means protecting floors, controlling dust, and leaving the cabinet and wall surfaces neat. Once installed, the outlet should be tested for correct polarity, grounding, and GFCI performance.
If you are in Rancho Cucamonga or the broader Inland Empire and want a clean, code-compliant installation with clear communication, Potter Electric Company Inc. can help – schedule service at https://Potterelectricinc.com.
A quick reality check on DIY
Homeowners are capable. But kitchen island power is one of those projects where DIY risks pile up fast: hidden plumbing, difficult access, uncertain circuit loading, and strict requirements for GFCI and wiring methods.
If you are already comfortable identifying circuits, verifying wire sizes, installing approved boxes, and testing GFCI function with the right tools, you may be able to handle portions of the work. But if any part of that list feels like guessing, it is safer and usually faster to have a licensed electrician handle it.
The goal is not just getting an outlet installed. It is knowing it will still be safe and reliable five years from now when your kitchen has even more devices than it does today.
A helpful way to think about it: your kitchen island is where people gather. The best electrical work is the kind you never have to think about again – it just works, quietly and safely, every day.